 Mar-a-Lago's Turkey Burgers
*
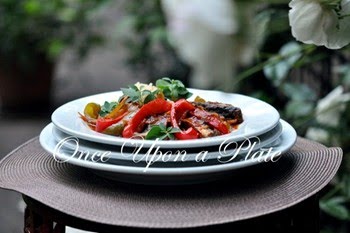
This is simply the most fabulous turkey burger I have ever tasted, and competes with my favorite luxe Sirloin burger as well.
When I heard Oprah, and a few of my own acquaintances rave about these burgers, I knew I had to make them.
The recipe is from Donald Trump's executive chef Jeff O'Neill, and is available on Oprah's website.
Just a note - other's have commented, and I agree 8 ounces is a HUGE burger. I prefer a 4 to 5 ounce burger.
When I made them I used 20 ounces of "Jenny-o's" ground turkey (7% fat), and approximately quartered the remaining ingredients; I was generous with my measurements as I was working with 20 ounces of meat, not one pound. I formed the amount I used into 4 patties, they were plenty big enough.
While the Pear-Chutney recipe is very good, I feel it is overkill and not necessary at all. I'm going to serve it another time as a condiment for grilled chicken, fish, or shrimp.
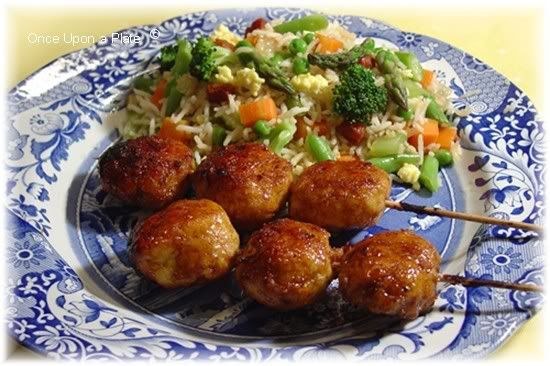
I much preferred blending about 1/2 cup of Best Foods (Hellmann's) mayonnaise with about a tablespoon of Mango chutney (straight from the jar); whirring it in the mini food-processor. (Pictured in the small square dish on the plate.) It is a fabulous spread for this sandwich. I served the burgers on my own homemade sandwich buns, however, they would be wonderful in pita, on whole wheat buns, or even by themselves, without bread.
*
Mar-a-Lago Turkey Burgers Recipe
from chef Jeff O'Neill
*
1/4 cup scallions, thinly sliced
1/2 cup celery, finely chopped
3 Granny Smith apples, peeled and diced
1/8 cup canola oil
4 pounds ground turkey breast
2 Tbsp. salt
1 Tbsp. black pepper
2 tsp. chipotle Tabasco™
1 lemon, juice and grated zest
1/2 bunch parsley, finely chopped
1/4 cup Major Grey's Chutney, pureed
Sauté the scallions, celery and apples in the canola oil until tender. Let cool.
*
Place the ground turkey in a large mixing bowl.
Add sautéed items and the remaining ingredients. Shape into eight 8-ounce burgers.
Refrigerate for 2 hours.
Season the turkey burgers with salt and pepper.
Place on a preheated, lightly oiled grill.
Grill each side for 7 minutes until meat is thoroughly cooked.
Let sit for 5 minutes.
*
Serve with a side of Mar-a-Lago Pear Chutney (see below) and your favorite toasted bread, pita or hamburger roll. If desired, omit the chutney and serve with other favorite condiments.

Mar-a-Lago Pear Chutney
1 Anjou pear, peeled and diced
1/2 tsp. cinnamon
1 tsp. sea salt
1 1/2 cups Major Grey's Chutney
1/4 cup dried currants or raisins
Preheat oven to 350°.
Toss the diced pears with the cinnamon and salt.
Bake on a parchment-lined cookie sheet for 10 minutes.
Cool and mix with the chutney and currants or raisins.

 Welcome to the Jardin des arcs.

 And a lovely, tender pastry dough it is. Baking powder in the dough makes the finished product puff beautifully while shallow-frying in canola oil. After allowing the pies to drain on a cooling rack they are not oily tasting at all. They can then be sprinkled or rolled in cinnamon sugar.
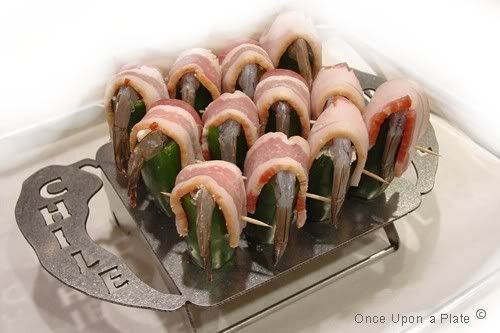 Ready for the oven, or covered grill.
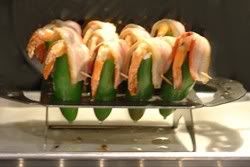


